SQLITE NOT INSTALLED
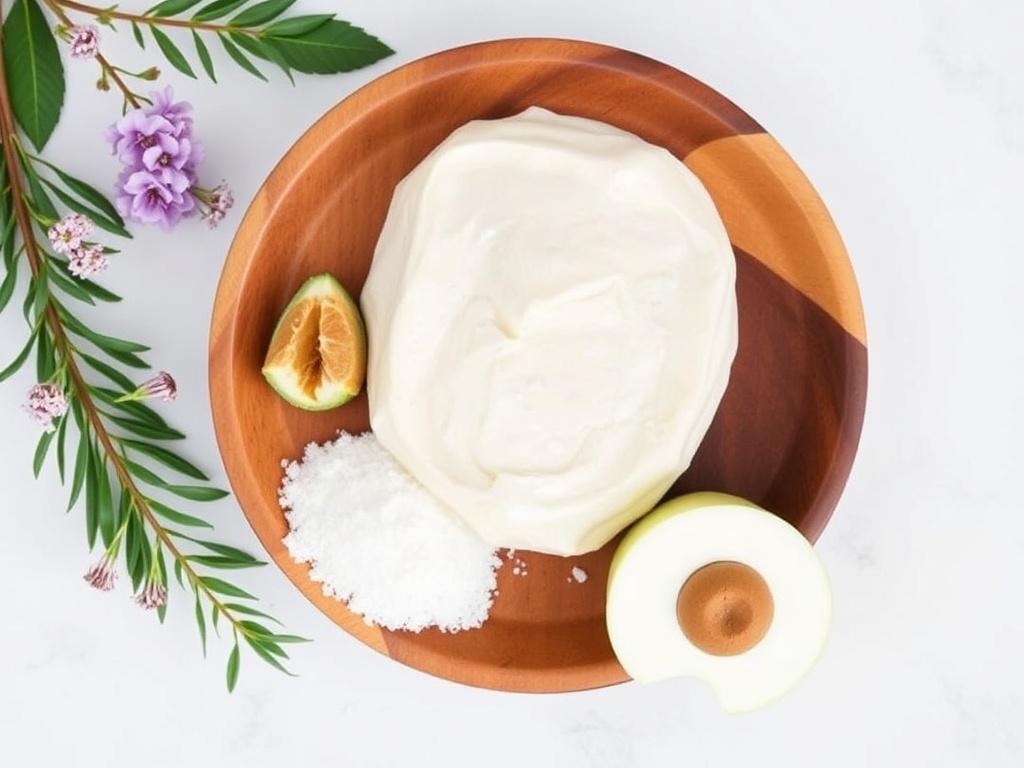
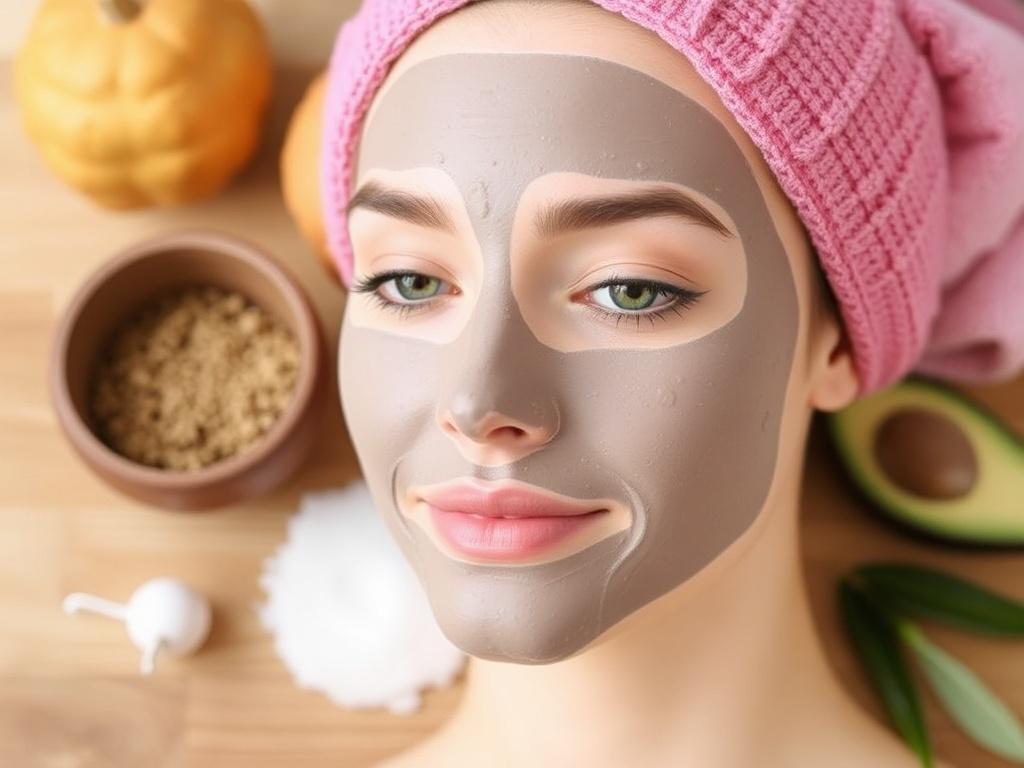
There’s a gentle satisfaction in stirring a bowl of things you can pronounce, then patting that mixture over your skin like a small, self-made ritual. Homemade face masks—masken selber machen—are more than beauty hacks. They’re ways to slow down, notice texture and scent, and learn what your skin likes. This article walks you through the why and how, the safety, the science in plain words, and dozens of practical recipes with natural ingredients you likely already have in your kitchen. Read on, mix up a mask, and treat this like a friendly experiment rather than a complicated chore.
Why Make Your Own Masks?
Store-bought masks come in pretty jars and promising labels. Homemade masks come with transparency. You choose every component, so you know exactly what touches your skin. That control matters if you react to fragrances or preservatives, or if you want to use organic items. Homemade masks are often cheaper, produce less packaging waste, and can be adjusted on the fly.
Beyond cost and control, making masks encourages observation. You learn how your skin responds to oats, to stirring, to a little time under steam. That feedback, over weeks, helps you build a personalized routine instead of relying on the same brand ad that lands in your feed.
Safety First: Practical Rules Before You Mix
Natural doesn’t automatically mean safe. Many gentle ingredients are also active: citrus can sensitize, essential oils can be irritating, raw egg whites can carry bacteria if misused. Here are clear, practical rules to keep things beneficial rather than harmful.
1. Always patch-test new mixtures
Place a small dab of the finished mask behind your ear or on your inner forearm. Wait 24 hours. If you feel itching, burning, redness, or swelling, don’t use it on your face. Patch testing prevents a lot of avoidable drama.
2. Keep tools and surfaces clean
Use a ceramic or glass bowl, a wooden or silicone spoon, and freshly washed hands. Avoid metal bowls when working with acidic ingredients (they can react). Clean tools between uses to prevent contamination, and never double-dip fingers into leftover mask if you plan to store it.
3. Watch out for raw animal products
Raw eggs and dairy can carry bacteria. If you prefer to use them, do it in masks you apply immediately and rinse off thoroughly. Don’t leave raw-egg masks on overnight. If you’re pregnant, immunocompromised, or worried about bacteria, skip raw eggs and use alternatives like mashed banana or aquafaba (the liquid from cooked chickpeas) for texture.
4. Be cautious with essential oils and strong botanicals
Essential oils are potent. One or two drops are enough for an entire mask. Never use undiluted essential oils on the face. Citrus essential oils (bergamot, lemon) can cause photosensitivity—avoid sun exposure after use. Sensitive skin benefits from avoiding essential oils altogether or using low concentrations.
5. Consider allergies and specific medical conditions
If you have a known allergy (nuts, dairy, latex), avoid those ingredients. People with rosacea or eczema should be cautious about exfoliants and heating ingredients; stick to soothing, simple formulas. When in doubt, consult a dermatologist.
6. Label and store properly
Few homemade masks keep for long. Refrigerate water-based masks and use them within 3–5 days. Oil-based masks last longer (up to a month) if stored in a cool, dark place. Always label jars with the date.
Understanding Skin Types and Goals
Knowing your skin type sharpens your choices. The following short profiles and suggestions will help you select the right mask and avoid the wrong ones.
Normal skin
Balanced and not overly reactive. You can experiment widely. Focus on maintenance: hydration, mild exfoliation, and antioxidant care.
Oily or acne-prone skin
Look for absorbent ingredients like clays, plus antimicrobial helpers like honey. Avoid heavy oils that sit on the surface; prefer lighter oil like jojoba if oil is desired.
Dry skin
Choose hydrating and lipid-replenishing ingredients: oils, butters, honey, yogurt. Avoid over-exfoliating clays and drying alcohols.
Combination skin
Treat like a mix: apply clay masks to the T-zone and creamy or oil-rich masks to dry cheeks. Or choose masks that balance, such as honey-based hydrating masks with a touch of clay.
Sensitive skin
Simplicity wins. Use single-ingredient masks (oatmeal, aloe vera) and avoid strong acids, essential oils, and abrasive exfoliants. Perform patch tests diligently.
Mature skin
Focus on hydration, gentle collagen support, and antioxidants. Avocado, banana, honey, and oat-based masks work well. Include vitamin C–rich ingredients cautiously; oxidation can reduce freshness.
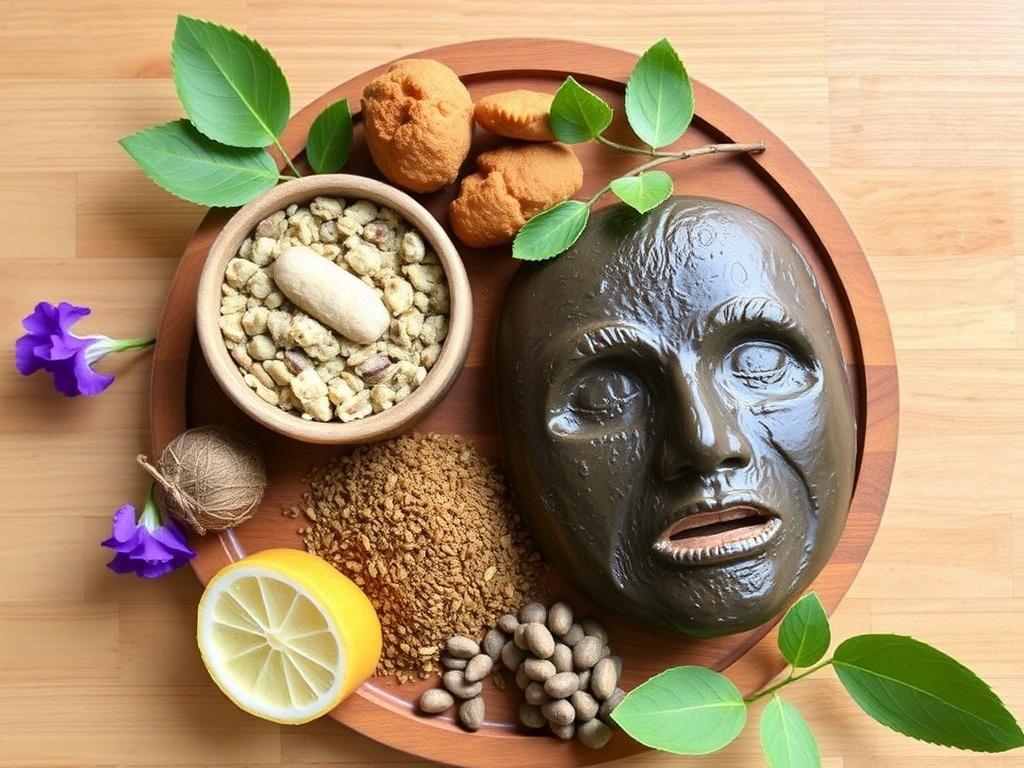
The Ingredient Encyclopedia: What Each Natural Component Does
Below you’ll find a concise, practical guide to commonly used natural mask ingredients. Think of this as your palette: each item contributes texture, scent, or an active property.
| Ingredient | Primary properties | Best for | Notes |
|---|---|---|---|
| Honey (raw) | Humectant, mild antibacterial | Dry, acne-prone, soothing | Use raw for active enzymes; sticky texture. Patch-test if allergic to bee products. |
| Yogurt (plain) | Hydrating, lactic acid for gentle exfoliation | Dull, dry, slightly textured skin | Use plain, unsweetened. Lactose-intolerant people may prefer non-dairy alternatives. |
| Oats (ground) | Soothing, gentle exfoliant | Sensitive, irritated, dry | Grind to a fine powder for masks to avoid abrasion. |
| Avocado | Rich in fatty acids and vitamins | Dry, mature | Heavy texture; can also be part of rinse-off masks. |
| Banana | Vitamins, moistening | Dry, mature | Great mashed as base for night masks; may oxidize and darken. |
| Clay (kaolin, bentonite) | Absorbent, mineral-rich | Oily, acne-prone, deep cleansing | Bentonite draws more oil; kaolin is gentler and suitable for dry skin types in small amounts. |
| Aloe vera gel | Soothing, hydrating | Sensitive, sun-exposed, inflamed | Use pure gel. Refrigerate for a cooling effect. |
| Turmeric | Anti-inflammatory, brightening | Dull, pigmented skin (use cautiously) | Can stain skin and fabrics; use small amounts mixed into creamy bases. |
| Green tea (cooled) | Antioxidant, soothing | All skin types, especially reactive | Use brewed, cool tea as a liquid base for masks. |
| Egg white | Tightening, pore-minimizing (temporary) | Oily, combination | Avoid if you have shellfish or egg allergies; do not ingest raw eggs unnecessarily and rinse off quickly. |
| Egg yolk | Rich in lipids, nourishing | Dry, mature | Use immediately; provides a creamy texture. |
| Oils (jojoba, almond, argan, coconut) | Moisturizing, skin barrier support | Dry, normal; choose lighter oils for oily skin | Choose non-comedogenic oils for acne-prone skin (jojoba, grapeseed). |
| Lemon juice | Vitamin C, astringent | Spot brightening with caution | Can cause photosensitivity and irritation. Use in tiny quantities and avoid sun exposure. |
| Cucumber | Cooling, hydrating | All skin types, especially puffy or sunburned | Great for slices or blended into gels. |
| Shea butter | Deep hydration, occlusive | Very dry skin, body masks | Rich and heavy; a little goes a long way for the face. |
Tools, Bases, and Simple Ratios

Before we leap into recipes, let’s set up a reliable toolkit and learn a few simple ratios that make the process repeatable.
Essential tools
- Glass or ceramic bowls (avoid reactive metal with acids).
- Wooden or silicone spoon for mixing.
- Measuring spoons and a small scale (helpful for consistency).
- Cotton cloths or muslin for removal or compresses.
- Clean small jars for short-term storage.
Basic mask ratios
These are starting points. Think of them as a framework you can tweak for texture and spreadability.
- Clay mask: 1 part clay to 1 part liquid (e.g., 1 tbsp clay + 1 tbsp water/hydrosol); add minimal oil if needed.
- Creamy mask: 2 parts solid/mashed fruit to 1 part yogurt/honey (e.g., 2 tbsp mashed avocado + 1 tbsp yogurt).
- Gel mask: 3 parts aloe vera gel to 1 part liquid (tea, hydrosol).
- Oil mask (rinse-off or overnight treatment): 1–2 tbsp oil, add ½ tsp honey or mashed fruit for texture.
Adjust viscosity: add more liquid to thin, more clay/mashed fruit to thicken.
Everyday Recipes by Skin Type

Below are detailed, tested-feeling recipes. Each includes quantities, step-by-step instructions, timing, frequency, benefits, and variations. Use them as templates: tweak the scent, the texture, and the timing to suit what your skin tells you.
Hydrating Honey-Yogurt Mask (All skin types, especially dry)
Why it works: Honey is a natural humectant, pulling moisture in; yogurt adds lactic acid for gentle exfoliation and a creamy feel. Together they create a simple, soothing mask for dull, thirsty skin.
Ingredients:
- 1 tablespoon plain yogurt (full-fat for dryness)
- 1 tablespoon raw honey
- Optional: ½ teaspoon rosewater for scent
Method:
- Mix yogurt and honey in a clean bowl until even.
- Apply a thin layer to clean skin, avoiding the eye area.
- Leave for 10–15 minutes; rinse with lukewarm water and pat dry.
Frequency: 2–3 times per week. Storage: Use immediately—do not store (yogurt short-lived).
Gentle Oatmeal-Calm Mask (Sensitive or inflamed skin)
Why it works: Colloidal oats soothe irritation and form a soft barrier. This mask is excellent after sun exposure, windburn, or when your skin feels tight.
Ingredients:
- 2 tablespoons ground oats (blend into a flour)
- 1 tablespoon aloe vera gel
- 1 teaspoon honey (optional)
Method:
- Mix ground oats with aloe and honey until a paste forms.
- Apply gently and leave for 10–20 minutes.
- Rinse with cool water, using gentle circular motions to buff lightly.
Frequency: 1–3 times per week as needed. Can be stored refrigerated for up to 48 hours.
Clay Clarifying Mask (Oily and acne-prone)
Why it works: Bentonite or kaolin clay draws excess oils and debris from pores. Paired with antibacterial honey or diluted tea tree, it calms breakouts without overstripping.
Ingredients:
- 1 tablespoon bentonite clay (or kaolin for gentler action)
- 1 teaspoon raw honey
- 1–2 teaspoons green tea (cooled) or water
- Optional: 1 drop tea tree oil (diluted into the honey)
Method:
- Mix clay and liquid to create a spreadable paste.
- Apply to the T-zone or entire face, avoiding eyes and lips.
- Leave until the mask is mostly dry but not rock-hard (5–10 minutes for oily skin).
- Rinse thoroughly, follow with a light hydrating serum or moisturizer.
Frequency: Once weekly for sensitive oily skin, up to twice weekly for very oily skin. Do not leave bentonite on until it cracks completely; that can dehydrate the skin.
Brightening Turmeric Mask (Dull or pigmented areas)
Why it works: Turmeric contains curcumin with antioxidant and anti-inflammatory properties. When mixed into a creamy base, it brightens and evens tone. Use small amounts to avoid staining.
Ingredients:
- 1 teaspoon turmeric powder
- 1 tablespoon plain yogurt or plain kefir
- 1 teaspoon raw honey
Method:
- Combine turmeric with yogurt and honey into a smooth paste.
- Apply thinly and leave for 7–10 minutes.
- Rinse away with a gentle cleanser; staining may occur—rubbing oil into any residual stain helps remove it.
Frequency: Once a week. Avoid daily use; turmeric can be staining and mildly sensitizing over time.
Green Tea Antioxidant Mask (All skin types)
Why it works: Green tea provides antioxidants and mild tannins. It calms redness and helps protect against environmental stressors.
Ingredients:
- 2 tablespoons cooled strong green tea
- 1 tablespoon oats (ground) or 1 teaspoon honey to thicken
Method:
- Create a paste with ground oats and green tea, or mix honey and green tea for a lighter mask.
- Apply and relax for 10–15 minutes.
- Rinse with cool water.
Frequency: 1–3 times weekly. Storage: If using liquid bases, use right away or refrigerate and use within 48 hours.
Banana and Honey Nourishing Mask (Dry, mature skin)
Why it works: Banana is rich in moisture and vitamins. Honey seals in hydration, while optional oils add lipid nourishment.
Ingredients:
- Half a ripe banana, mashed
- 1 tablespoon raw honey
- Optional: ½ teaspoon olive or jojoba oil
Method:
- Mash banana thoroughly, stir in honey and oil.
- Apply generously and leave for 15–20 minutes.
- Rinse with lukewarm water and follow with moisturizer.
Frequency: Once or twice a week. Tip: If the banana oxidizes at the surface (turns brown), it’s still usable but fresher ingredients are better.
Specialty Masks: Targeted Solutions
When you need a specific fix—pore tightening before an event, a soothing compress after a long day, or a quick under-eye pick-me-up—these masks deliver targeted results with minimal fuss.
Egg White Pore Tightening Mask (Temporary tightening for oily or combination)
Why it works: Egg whites can feel tightening as they dry, temporarily reducing the appearance of pores. Use sparingly and rinse off as soon as it dries.
Ingredients:
- 1 egg white
- Optional: ¼ teaspoon lemon juice (use caution)
Method:
- Whisk the egg white until frothy.
- Apply a thin layer to the face and allow to dry for 5–10 minutes.
- Rinse with cool water; follow with a hydrating serum.
Frequency: Use occasionally. Skip if you have egg allergies or very sensitive skin.
Cucumber-Refresh Under-Eye Compress
Why it works: Cucumber cools and hydrates the delicate under-eye area. It’s a quick pick-me-up for puffiness and fatigue.
Ingredients:
- 4 thick cucumber slices chilled
- Optional: a small spritz of rosewater
Method:
- Place cooled cucumber slices on closed eyes for 10–15 minutes.
- Remove and gently pat the area dry; follow with a light eye cream.
Frequency: As needed. This is a no-risk, low-commitment treatment.
Shea Butter Overnight Repair Mask (Very dry skin)
Why it works: Shea butter is deeply occlusive and helps lock in moisture overnight. Use only a very small amount on the face to prevent pore clogging; it’s excellent for cheeks and areas prone to dryness.
Ingredients:
- ½ teaspoon shea butter
- ½ teaspoon jojoba or argan oil
- Optional: 2 drops lavender essential oil (test for sensitivity)
Method:
- Warm shea butter between clean fingers, mix with oil and essential oil if using.
- Apply a thin, even film to dry areas before bed.
- Wash off in the morning with a gentle cleanser if you prefer.
Frequency: Up to nightly for very dry areas. Avoid overuse on acne-prone zones.
Exfoliating Masks and Scrubs (Gentle Methods)
Exfoliation removes dead skin cells, revealing brighter skin. Homemade masks can exfoliate chemically (yogurt, papaya) or mechanically (ground oats). Use sparingly and adjust intensity based on sensitivity.
Lactic Acid Yogurt Glow Mask
Why it works: Lactic acid in yogurt offers mild chemical exfoliation without irritation for most people.
Ingredients:
- 2 tablespoons plain yogurt
- 1 teaspoon honey
- Optional: ¼ teaspoon ground oats for gentle abrasion
Method:
- Combine ingredients and smooth over face for 10–12 minutes.
- Rinse with lukewarm water and apply moisturizer.
Frequency: Once weekly. Avoid sun immediately after exfoliation and use sunscreen during the day.
Papaya Enzyme Brightening Mask
Why it works: Papaya contains papain, an enzyme that gently dissolves dead skin. It’s a brightening, smoothing treatment.
Ingredients:
- 2 tablespoons mashed ripe papaya
- 1 teaspoon honey
Method:
- Apply a thin layer to the face. Leave for 7–10 minutes.
- Rinse thoroughly. Avoid if you have open wounds or very sensitive skin.
Frequency: Once every 1–2 weeks. Fresh fruit enzymes degrade quickly, so use fresh papaya.
Sheet Masks and How to Make Them at Home
Sheet masks are essentially fabric soaked in a serum. You can make a simple version with reusable muslin or microfiber cloths, or purchase biodegradable sheet fabrics and soak them in nutrient-rich serums.
Quick DIY Reusable Sheet Mask
Ingredients:
- 1 clean muslin or cotton cloth cut to mask size
- 2 tablespoons aloe vera gel
- 1 tablespoon cooled green tea
- ½ teaspoon glycerin or a small amount of honey
Method:
- Mix liquids and soak the cloth fully.
- Apply to the face, smooth it to contours, and relax for 10–20 minutes.
- Rinse face after removal, wash the cloth thoroughly and hang to dry.
Notes: This is zero-waste and reusable. Use the cloth 2–3 times a week and launder frequently.
Face and Scalp Masks: Crossing Borders
Some ingredients are versatile—what works on the face can also nourish the scalp. Below are a couple of multi-purpose masks.
Olive Oil and Honey Scalp Treatment
Why it works: Olive oil softens flakes while honey soothes and can attract moisture. Warm the oil slightly (do not overheat) before application for better penetration.
Ingredients:
- 2 tablespoons olive oil
- 1 tablespoon raw honey
Method:
- Warm the olive oil gently, mix in honey.
- Massage into the scalp, leave for 30–45 minutes under a shower cap.
- Shampoo twice to remove oil.
Frequency: Once weekly for dry scalp. Avoid if you have oily scalp issues; stick to lighter treatments.
Recipe Summary Table: Quick Reference
| Mask | Main Ingredients | Best for | Time |
|---|---|---|---|
| Honey-Yogurt | Honey, yogurt | Dry, normal | 10–15 min |
| Oatmeal-Calm | Ground oats, aloe vera | Sensitive | 10–20 min |
| Clay Clarifying | Bentonite, honey, green tea | Oily, acne-prone | 5–10 min |
| Turmeric Brightening | Turmeric, yogurt, honey | Dull, pigmented | 7–10 min |
| Banana & Honey | Banana, honey | Dry, mature | 15–20 min |
| Egg White Pore | Egg white | Oily, combo | 5–10 min |
| Green Tea Antioxidant | Green tea, oats/honey | All types | 10–15 min |
How Often Should You Use Each Mask?
Frequency depends on your skin and the mask’s purpose:
- Hydrating and soothing masks: 2–4 times weekly.
- Clay and clarifying masks: once weekly for most, up to twice for very oily skin.
- Exfoliating enzyme or acid masks: once weekly.
- Overnight treatments: as needed, not nightly unless very targeted and your skin tolerates them.
If you try a new mask, give your skin several days before repeating to observe how it responds. Less is often more.
Preservation, Storage, and Shelf Life
Most homemade masks lack commercial preservatives. That means shorter life spans and a need for refrigeration for any water-based or dairy-based masks.
- Use fresh masks within 48–72 hours when refrigerated.
- Oil-based masks (pure oils and butters) last longer—up to a month stored in a cool, dark place.
- When in doubt, smell the mask. Off smells indicate spoilage. If the texture or color changes unexpectedly, discard.
To extend life slightly, brew tea with antimicrobial herbs like rosemary or green tea as the liquid base. Still, this only offers marginal extension and is not a substitute for preservatives.
Zero-Waste and Sustainable Practices
Making masks at home can be greener than single-use commercial alternatives. A few tips keep your practice sustainable:
- Use reusable jars and cloths.
- Compost fruit and vegetable remnants when possible.
- Buy ingredients in bulk to reduce packaging.
- Choose organic when it matters most to you (pesticide-prone items like non-organic turmeric or strawberries are reasonable choices to buy organic).
Shopping List and Pantry Staples
Here’s a practical shopping list to keep on hand. These items cover the majority of recipes listed above.
| Ingredient | Purpose | Suggested amount to keep |
|---|---|---|
| Raw honey | Humectant, antimicrobial | 250 g jar |
| Plain yogurt | Hydrating, lactic acid | One small tub (use quickly) |
| Ground oats | Soothing exfoliant | 500 g bag |
| Bentonite/kaolin clay | Absorbent base | Small pouch (100–250 g) |
| Aloe vera gel | Soothing base | Small tube or plant |
| Olive/jojoba oil | Moisturizing | 250 mL bottle |
| Turmeric | Brightening | Small jar |
| Green tea | Antioxidant liquid base | Box of tea bags |
Troubleshooting Common Problems
Even with simple masks, things can go wrong. Here’s how to read and respond to common issues.
Mask feels too tight or stings
Rinse immediately. That tightness often signals over-drying or allergy. Next time, thin the mask with aloe or remove any essential oils.
Mask leaves skin red after use
Check for irritation from an active ingredient—citrus, essential oils, or strong clays. If redness persists after 24 hours, stop using the recipe and consult a professional if needed.
Mask stains clothes or towels
Turmeric is the usual suspect. Use gloves while applying, and treat stains with oil then a detergent. To avoid staining skin, apply turmeric masks sparingly mixed into creamy bases.
Mask became slimy or fermented
Discard immediately. Fermentation indicates bacterial growth. Always store masks in the refrigerator and use clean utensils.
How to Build Your Own Mask: A Simple 3-Step System
Once you know ingredients and skin needs, creating new masks becomes intuitive. Use this three-step method to build a mask in under five minutes.
- Choose a base: clay for oil control, yogurt/aloe for hydration, mashed fruit for richness.
- Add a functional ingredient: honey for moisture/antibacterial, oats for soothing, turmeric for brightening.
- Adjust texture: add tea or water to thin, a little oil to enrich. Keep essential oils to 1–2 drops total if used.
Test on a small area, then proceed. This method encourages experimentation while keeping safety front and center.
FAQs
Can I use regular supermarket honey?
Yes, but raw honey retains more active enzymes. If you have only pasteurized honey, it will still hydrate and seal moisture but may be slightly less antimicrobial.
Are essential oils necessary?
No. Essential oils add fragrance and targeted properties, but they’re not necessary and can irritate. Many people achieve great results without them.
What if I have acne—should I stop using oils completely?
Not necessarily. Some lighter oils like jojoba mimic natural sebum and may be tolerated by acne-prone skin. Test small areas and choose non-comedogenic oils.
Can I sell homemade masks I make at home?
That crosses into regulatory territory. Homemade cosmetics sold to the public require compliance with local regulations and preservatives to ensure safety. If you plan to sell, consult local cosmetic regulations and consider preservative systems and proper labeling.
Final Notes and Small Rituals
Making masks is partly practical and partly ritual. It’s about the little pauses where you pull the curtains, mix a pot, breathe a scent, and wash it away. The act is as much about caring for skin as it is about caring for attention. Keep recipes simple at first. Learn how your skin reacts. Keep a small notebook of mixtures you love and their effects. With that, you’ll have a personal collection of masken selber machen that isn’t just effective, but feels like yours.
Resources and Further Reading
For technical questions about specific skin conditions or persistent reactions, consult a board-certified dermatologist. For ingredient sourcing, look for trusted suppliers with clear transparency on sourcing and minimal additives. Books on botanical skincare and cosmetic formulation can provide deeper understanding if you want to move beyond kitchen recipes into small-batch formulation with proper preservation.
Closing Encouragement

Start with one simple recipe: honey and yogurt, or oats and aloe. Notice how your skin feels afterward. If your skin tolerates it well, try a clay mask for an occasional deep clean. Experiment thoughtfully rather than rapidly switching masks every day. Over time you’ll find a handful of recipes that fit your routine, your environment, and your mood. Enjoy the process—masken selber machen can be a quiet, reliable pleasure in a busy life.


